The matching in these games has not become harder over the years. The layers placed on top of the board have, and telling them apart is most of the skill in a modern level.
Four kinds, and only one is urgent
Almost every obstacle in this genre falls into one of four categories, and sorting them correctly at the start of a level decides how it goes.
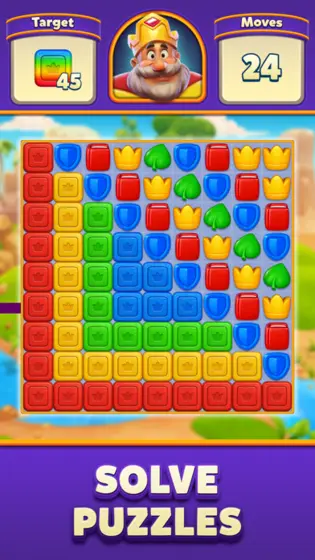
- Covering. Sits over a tile and must be removed before the tile beneath is usable. Removing it usually requires a match on or next to it. Not urgent by itself, but it hides board space you may be counting on.
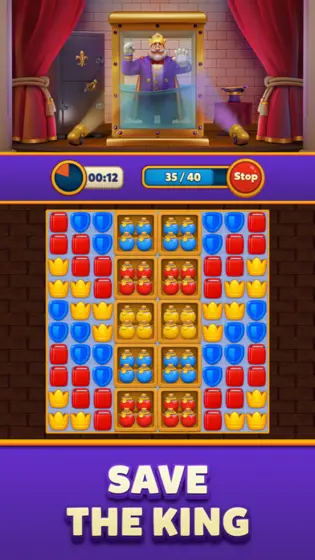
- Blocking. Occupies a square entirely, cannot be matched, and interrupts the fall of tiles above it. This is the type that quietly ruins cascades, because a single blocker in a column stops everything above from reaching the bottom.
- Layered. Needs to be hit several times, each hit removing one layer. Predictable and safe to plan around, because you can count the hits required and budget for them.
- Spreading. Grows into neighbouring squares over time. This is the only genuinely urgent category, and it is the one most often left until it is too late.
The order to deal with them: spreading first, always. Then blockers that sit in columns you need. Then coverings over goal tiles. Layered obstacles last, because they are the only ones whose cost does not change while you ignore them.

Blockers and the geometry of a column
A blocker's real cost is not the square it occupies, it is the column it interrupts. Tiles cannot fall past it, so everything above it is effectively a separate small board with its own refill. Two blockers in the same column can leave a three-tile pocket that never interacts with the rest of the level again.
When you are choosing between two equally sized clears, prefer the one that opens a column from top to bottom. Restoring a column restores the cascade behaviour of the entire region above it, which is worth far more than the tiles removed.
Spreading obstacles are a clock
These grow on a schedule, usually one square per turn, and the growth compounds because each new square becomes a new source. Left for five turns, one square becomes a region that requires several moves to contain.
The correct response is disproportionate and immediate: hit it the moment you see it, even at the cost of a much better move elsewhere. There is no situation in these games where allowing a spreading obstacle to run for a few turns turns out to have been the efficient choice.
Reading what is buried
The trap in layered levels is that goal tiles are often underneath, invisible at the start. The goal panel says you need twelve of something, you can see three, and the other nine are under coverings in a corner you have not touched.
This is why the first two moves in a heavily layered level should be spent on visibility rather than progress. Open the covered region, see what is actually there, and then plan. Players who start scoring immediately usually discover the real level with six moves left, which is not enough.
When boosters are actually worth it
Boosters in these games are usually poor value on ordinary levels, because ordinary levels can be won by playing them properly. Layered levels are the exception. A booster that removes a blocker in the wrong column, or clears a spreading obstacle that has already got away from you, changes the structure of the level rather than merely the score.
If you are going to spend anything, spend it here, and spend it early. A booster used at move two to open a column is worth several used at move eighteen to scrape a few more tiles, and the difference is not close.